
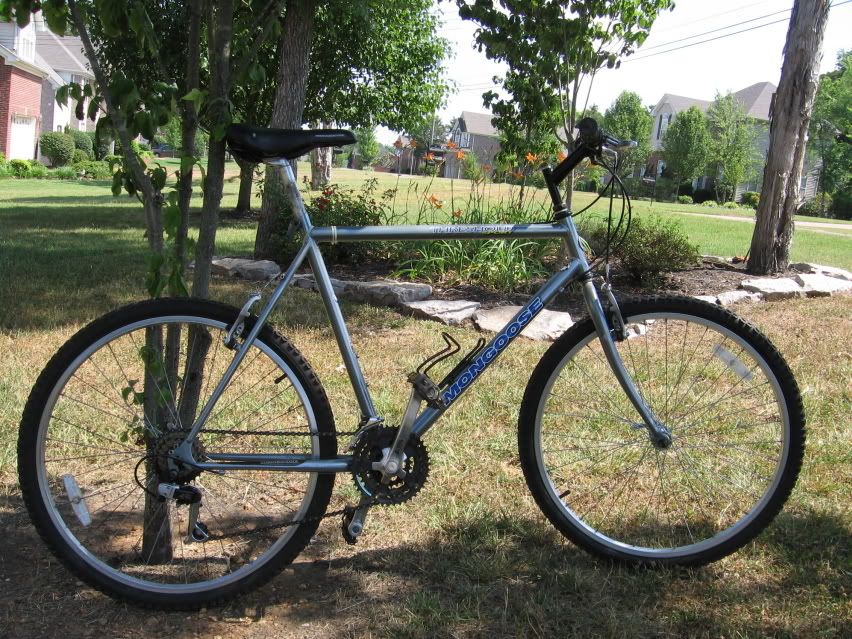
The bike was originally a 95-96 Mongoose "Threshold" mountain bike. The frame was in good shape but unfortunately a relative left it in a damp sub-basement for years and rust had developed on some parts but mostly the chain, crank & rims were too badly damaged by the rust to save. The stock color was a deep cherry red but a lot of it was faded and had water damage. I decided I wanted to save the frame since I really like the older thin styled tubing or older bikes compared to the thicker modern styles we have today. This is not my bike but a pic I found online to give you an idea what it looked like stock.
Sorry no pics of this part. But for starters I tore the bike down until I was left with just the frame & fork. I took some rough sand paper and scratched up the original paint a little and proceeded to the next step. I went to my local hardware store and bought some brush on paint stripper. **Warning do this outside it smells terrible and isn't safe to be breathing much off also wear gloves and eye protection it may burn if you get it on your hands. Some people will skip this step and just keep sanding until the take all the paint off but I don't have the patience for that and worried it would still show in my new paint job.
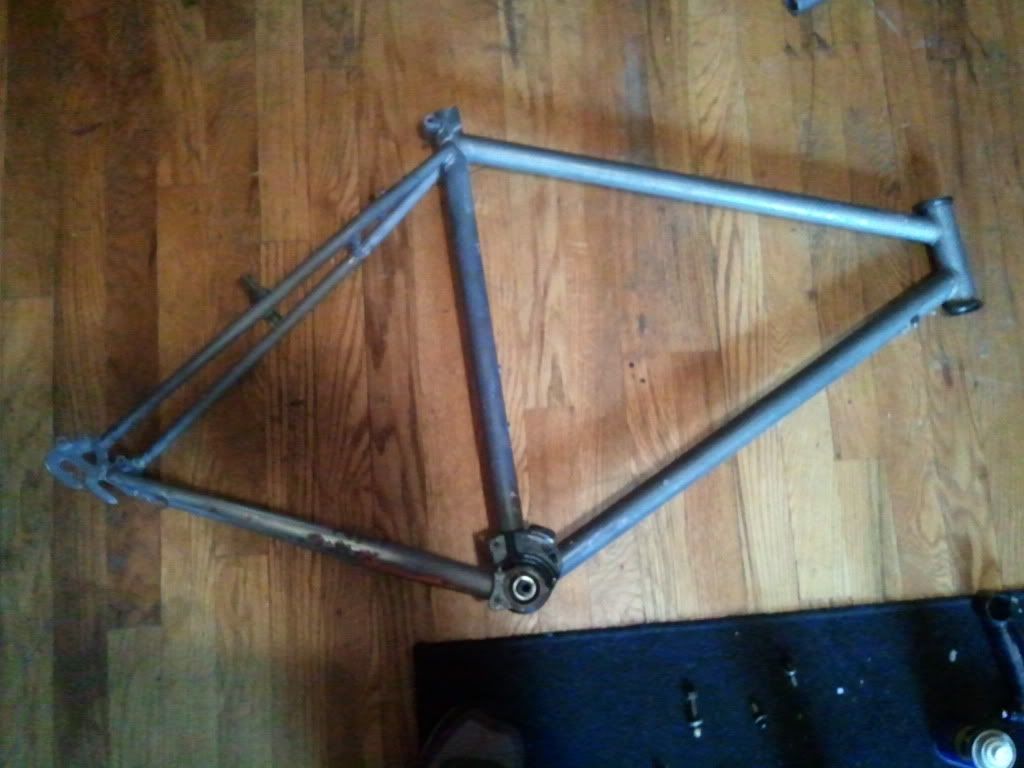
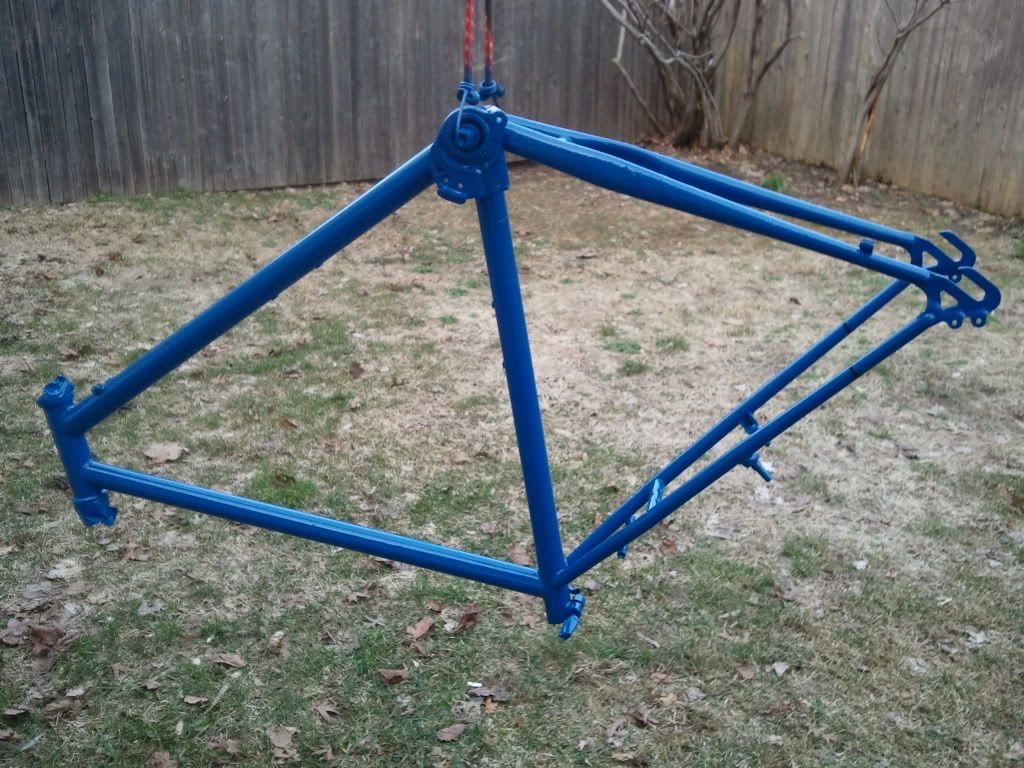
After 2-3 applications of the paint stripper (used one made my Kleen Strip) and a little metal brush to help me out I had it down to the cro-moly frame only.
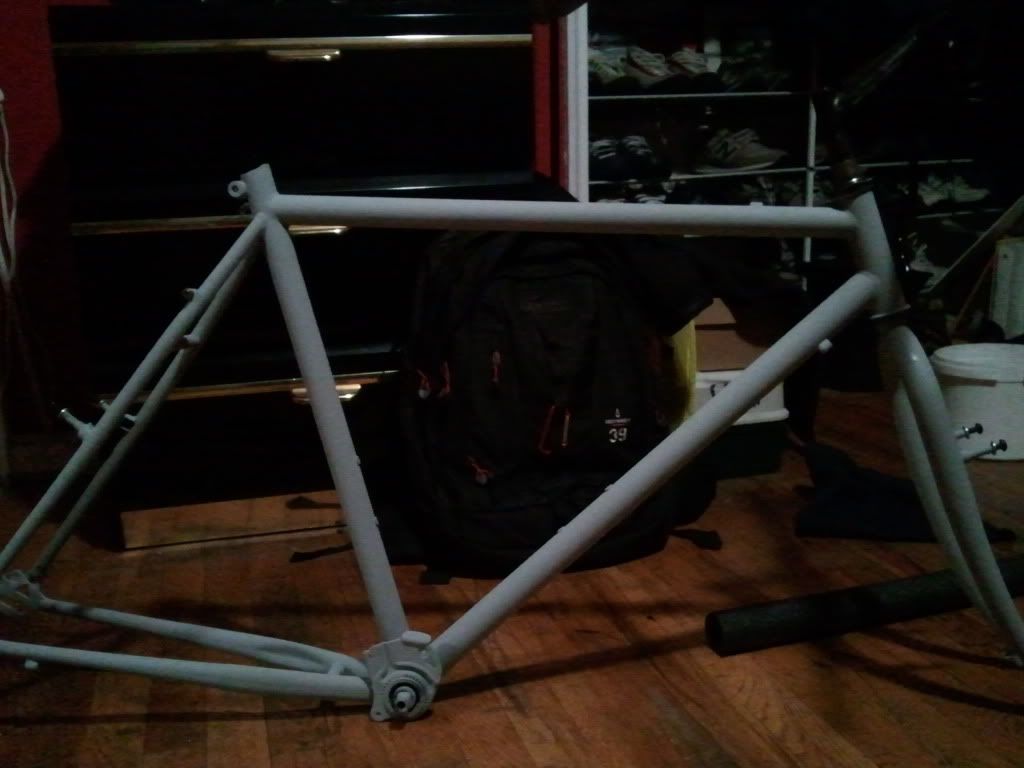
Next step was priming, I hung it outside & lightly sprayed a few coats of grey primer. A little wet sanding in between coats kept the paint smooth and kept a better surface for the next color to stick too.
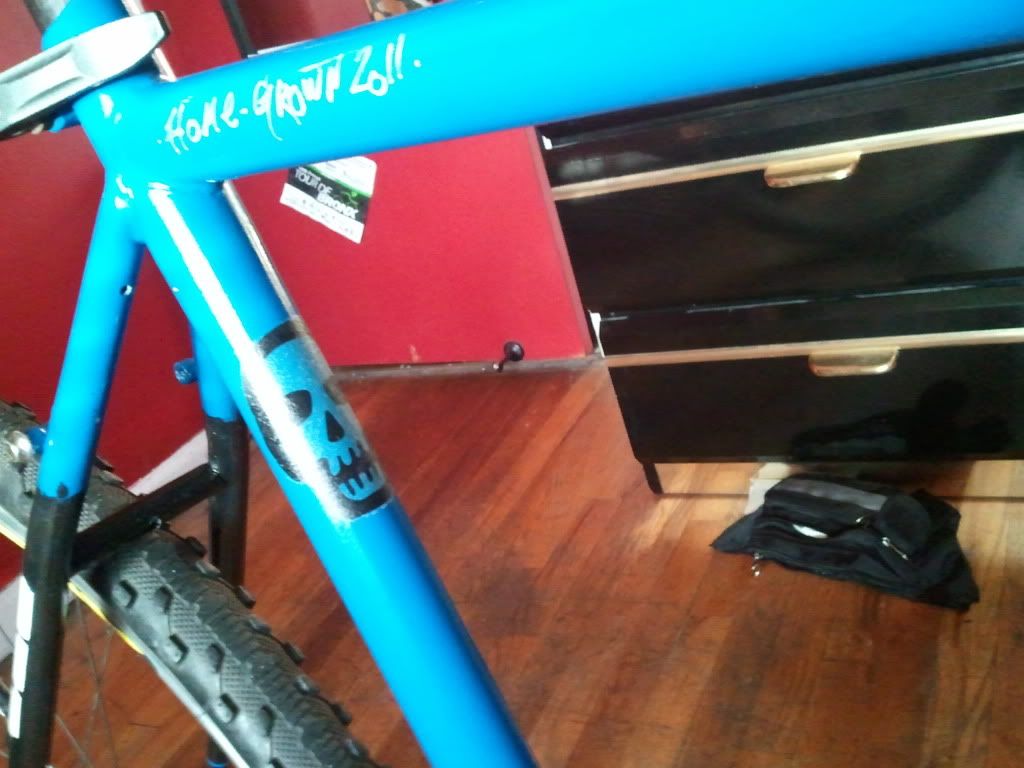
Forgot to take pics of this part sorry :(, but I sprayed some gloss white on a few areas first and masked them off with a vinyl decal I cut out by hand. I wanted the white to stand out so I had to paint it first as a base color. I than started spraying even and smooth passes of the deep blue paint, I only sprayed a few light coats and making sure to keep the can moving left to right, if you keep it more than a second or two the paint will drip and look sloppy and take much longer to dry.
Once I was sure the blue had covered everything I started spraying the black fade to the chain stays, I masked off some of the frame with cardboard and tape to avoid the black over spraying on the blue sections.
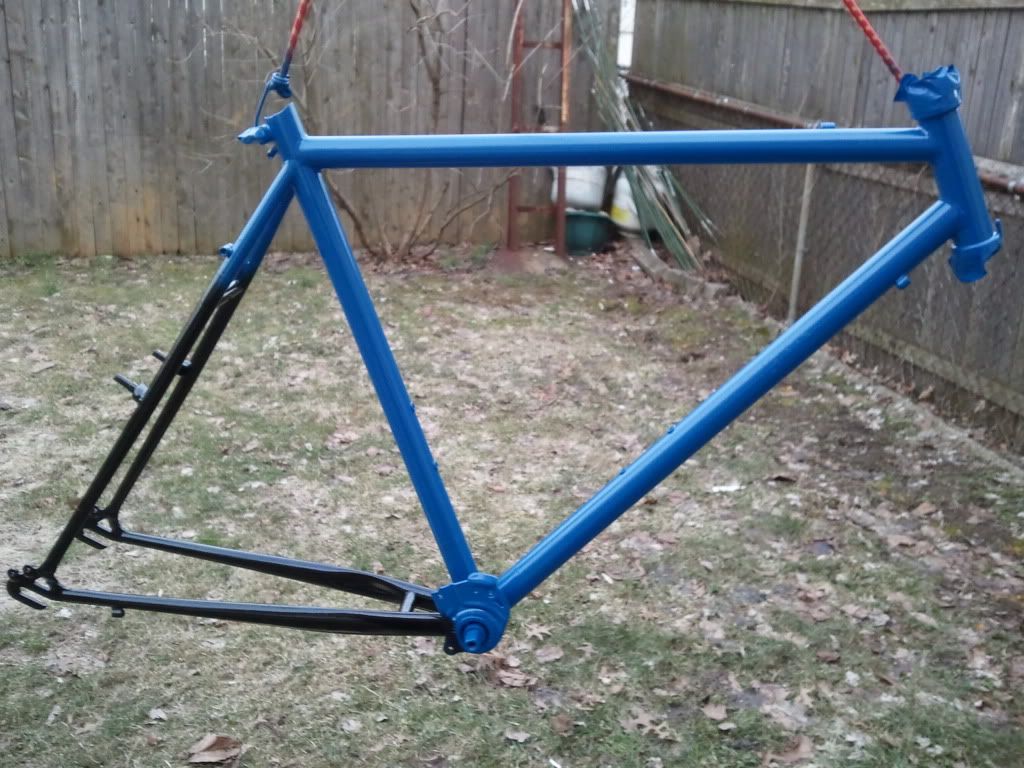
After I was happy with the black, I carefully un peeled the vinyl decals I had under all the layers of blue paint. The white base coat I first sprayed showed up as a nice contrast against the blue & black. After another round of wet sandeing using a mix of soap and water, I used 1000 grit automotive sandpaper from 3m. The paintjob was really starting to come together at this point and looked good.
After letting the whole thing dry overnight, depends of the weather also because if its a humid or cold day it may take longer for the paint to dry. But I kept the frame indoors near a warm radiator so that helped it dry out quicker.
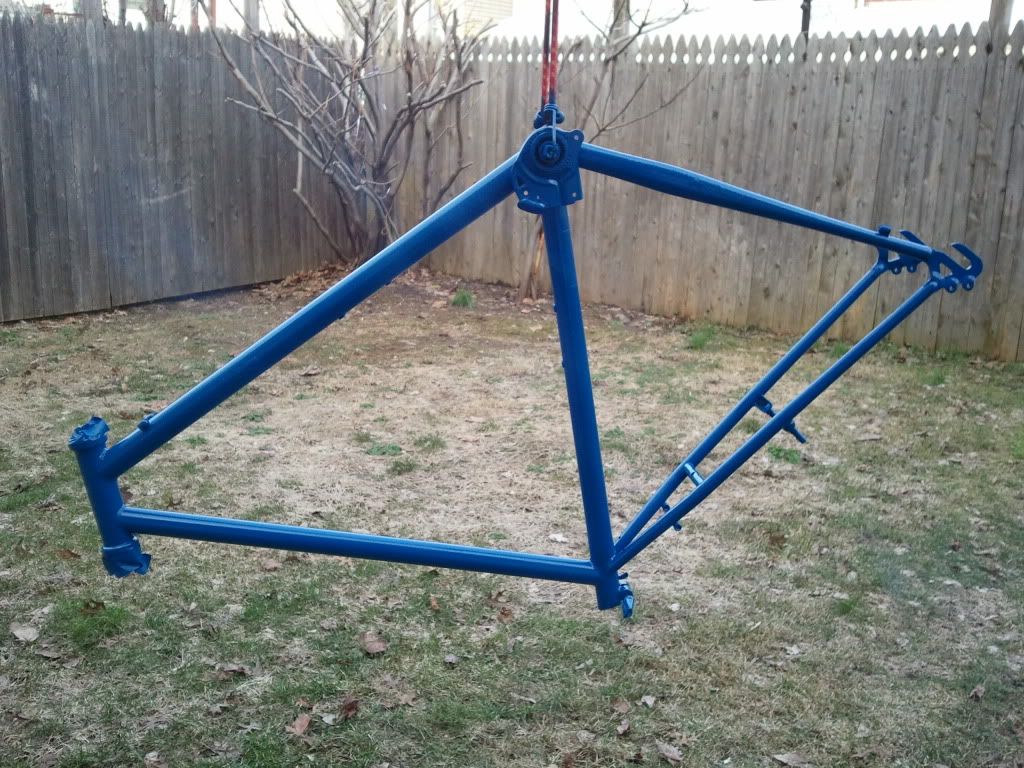
I hung up the frame again & began to spray the first coat of the lacquer clear coat. I sprayed about 2-3 coats of the clear coat, I than let that fully dry for about 2days. Some people may say to wait a week or more to let the lacquer gas out, but I was sure it was dry, the paint had cured hard and didnt have that paint fume coming off it either. I wet sanded (yes again..) than added another heavier coat of clear coat to seal it all up. The paint was looking like glass at this point.

I also buffed and polished the paint afterward using some car wax. it came out very shiny !!

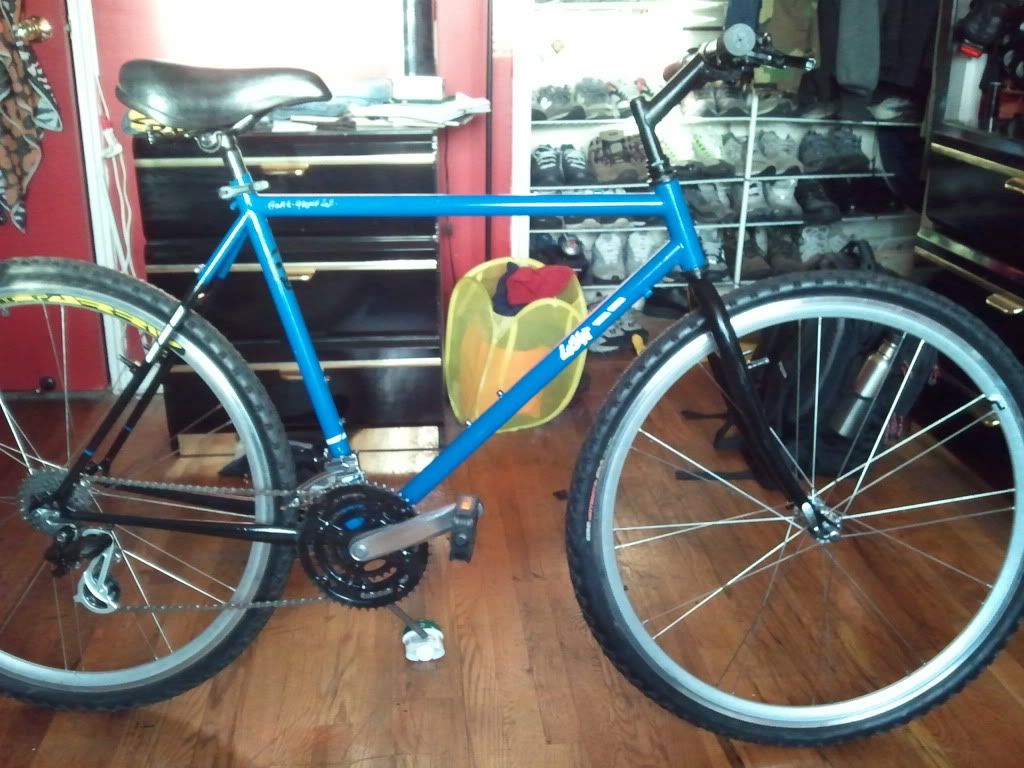

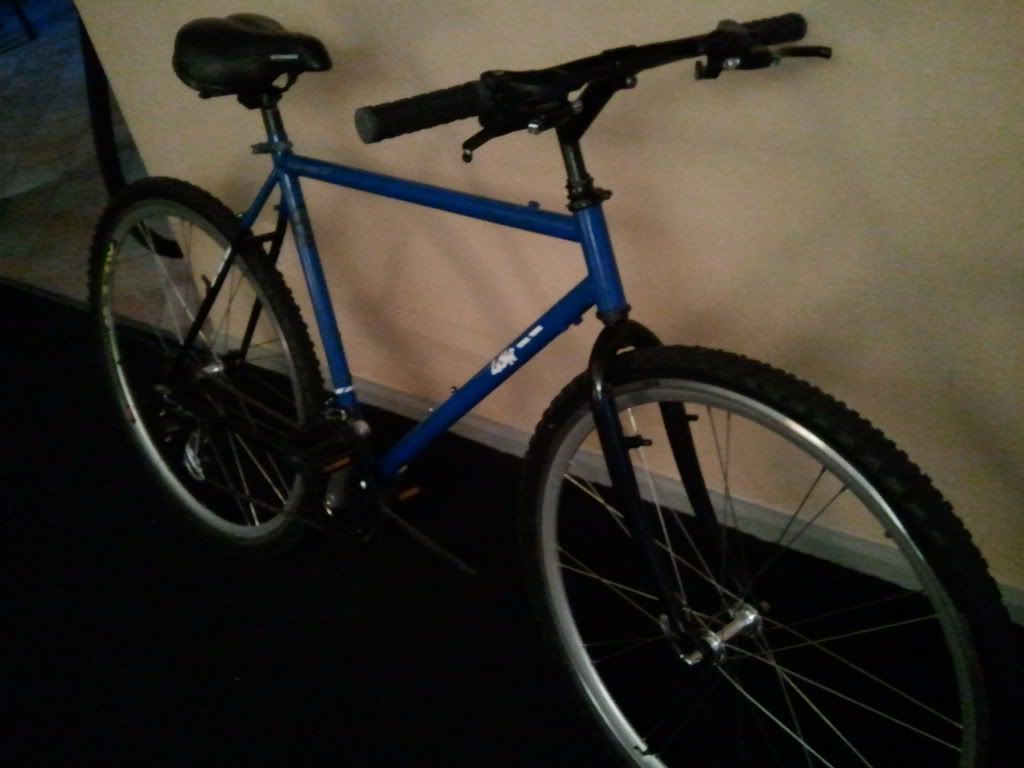
The components came from another bike laying around, I decided on going with the 700c hybrid tires since the original 26"rims were so un usuable. The only issue I have now of course is the brakes which I expected. trying to find some long reach or road brakes to help solve this, any ideas throw em my way please.
Thats as far a i got until this point, I figured it would be a fun project & keep me busy until the weather breaks, And never actually tore down a whole bicycle to restore it. And whats better than playing with a bicycle and spray paint all at once ;)
The total project didnt cost much maybe about 30ish so far. I had the tools I needed already just needed to buy the paint and stripper. and about close to a week messing with it about an hour or two each day. Only cause I wanted it to dry fully and not take a risk of smudging the paint job in between sprays. Have fun to anyone that attempts this themselves it wasn't really that hard at all & anyone with any ideas on 700c tires on a mountain bike frame shoot me an email. Last pic isn't showing the spray can of gloss white and the gray primer.

No comments:
Post a Comment